


80W Electric Soldering Iron Adjustable Temperature LCD Digital Display 220V Welding Solder Tips Repair Rework Tool Kit | Канцтовары для
Сохраните в закладки:


История цены
*История изменения цены! Указанная стоимость возможно, уже изменилось. Проверить текущую цену - >
| Месяц | Минимальная цена | Макс. стоимость | Цена |
|---|---|---|---|
| Aug-18-2025 | 11.30 руб. | 11.52 руб. | 11 руб. |
| Jul-18-2025 | 9.64 руб. | 9.4 руб. | 9 руб. |
| Jun-18-2025 | 11.40 руб. | 11.61 руб. | 11 руб. |
| May-18-2025 | 11.0 руб. | 11.76 руб. | 11 руб. |
| Apr-18-2025 | 9.95 руб. | 9.71 руб. | 9 руб. |
| Mar-18-2025 | 11.25 руб. | 11.10 руб. | 11 руб. |
| Feb-18-2025 | 11.12 руб. | 11.91 руб. | 11 руб. |
| Jan-18-2025 | 11.93 руб. | 11.27 руб. | 11 руб. |
Новые товары
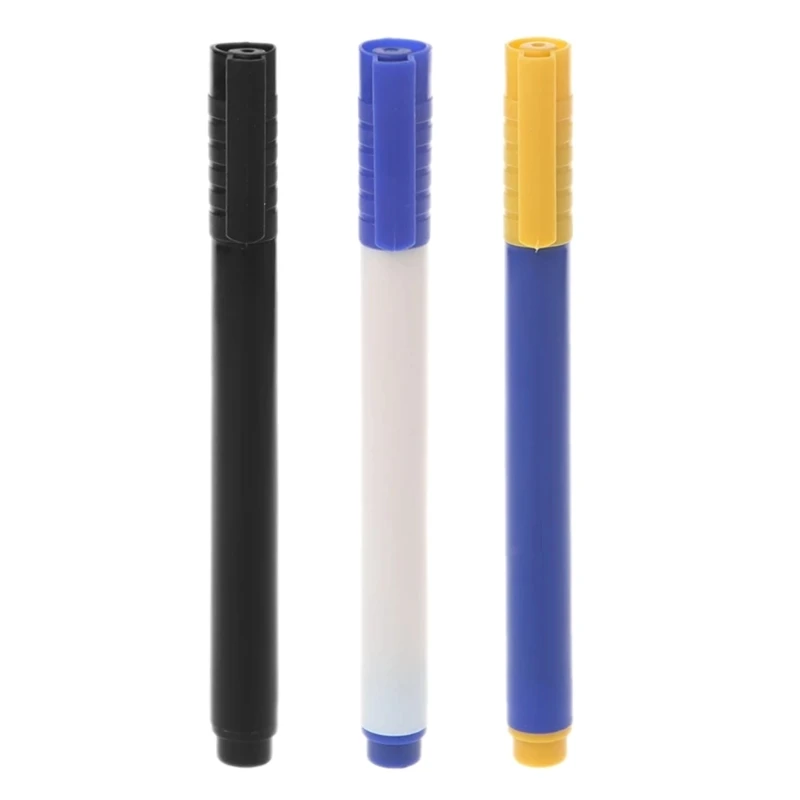
Новинка 2022 ручка-Детектор фальшивых купюр портативная фальшивая ручка для
120.8
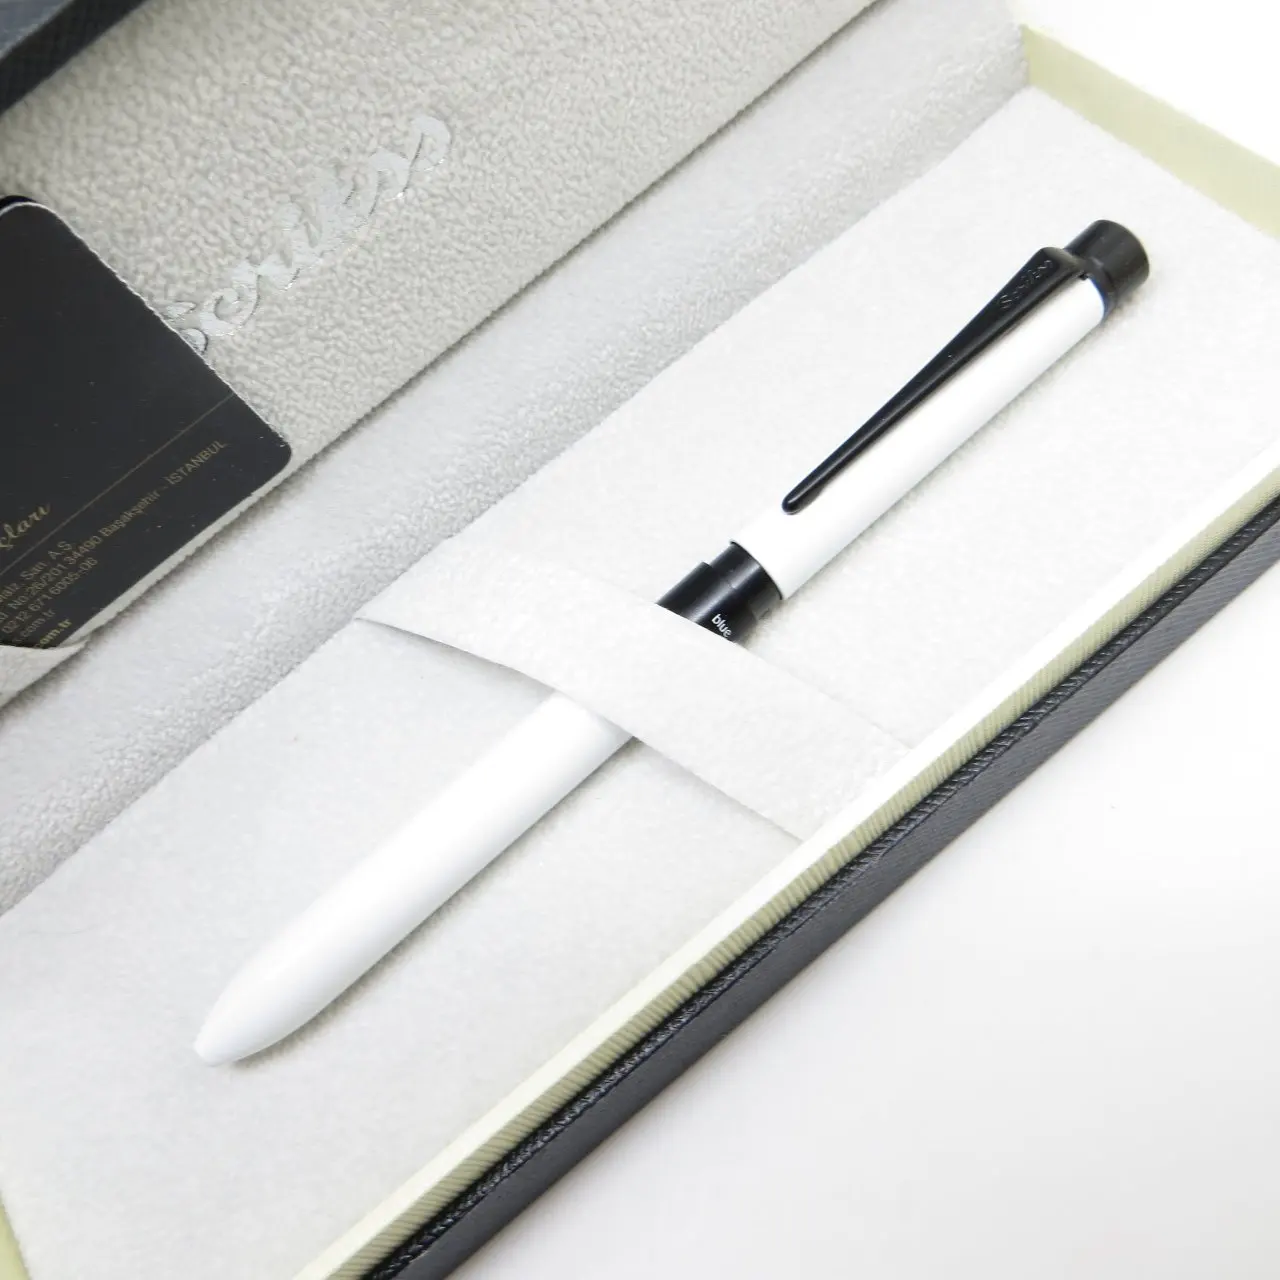
Многофункциональная Ручка Scrikss 83 Trio white 07 мм | Подарочная ручка в подарок - купить
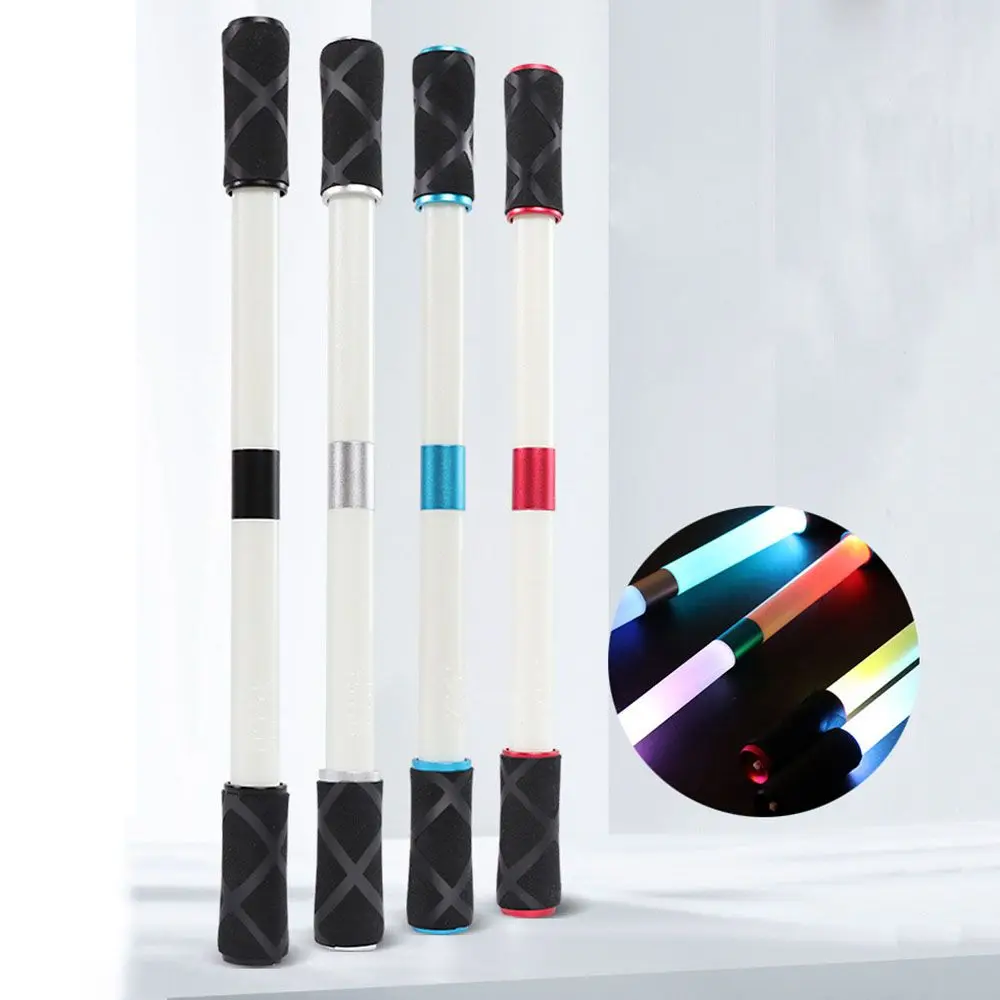
Умная игрушка для снятия давления пальцев нескользящая светильник ящаяся
318.4
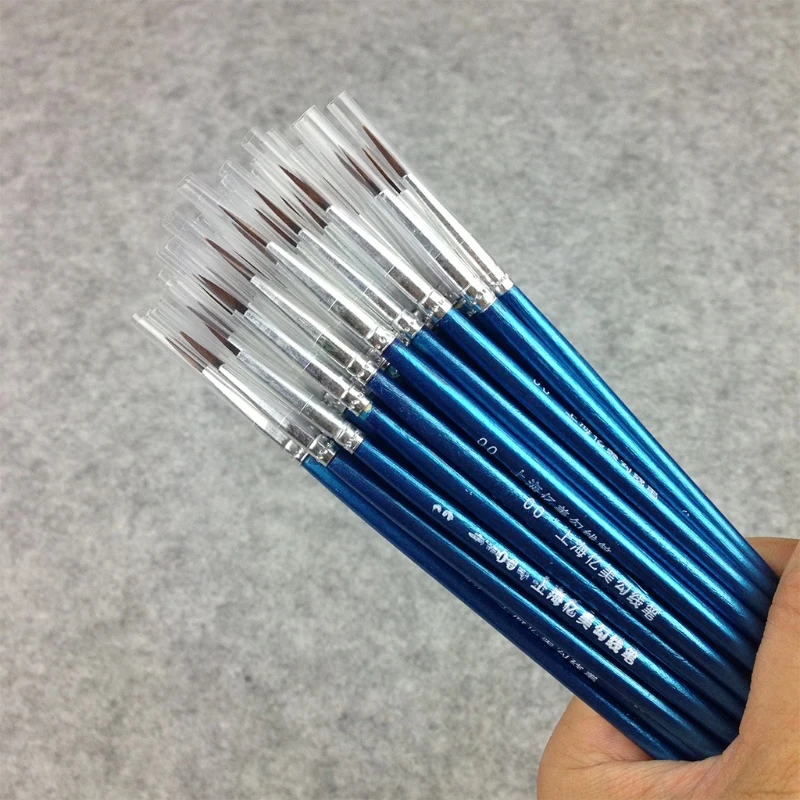
Новинка 2021 10 шт. нейлоновая кисть для художественной краски акриловая
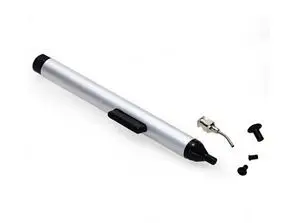
Легкая Палочки припоя er Вакуумные присоски ручка для съемки крупным планом + 3
149.6

Креативный антистрессовый игрушечный муравей-спиннер с антискользящим покрытием и функцией письма, облегчающий напряжение, для детей в качестве подарка на Рождество.
105.78
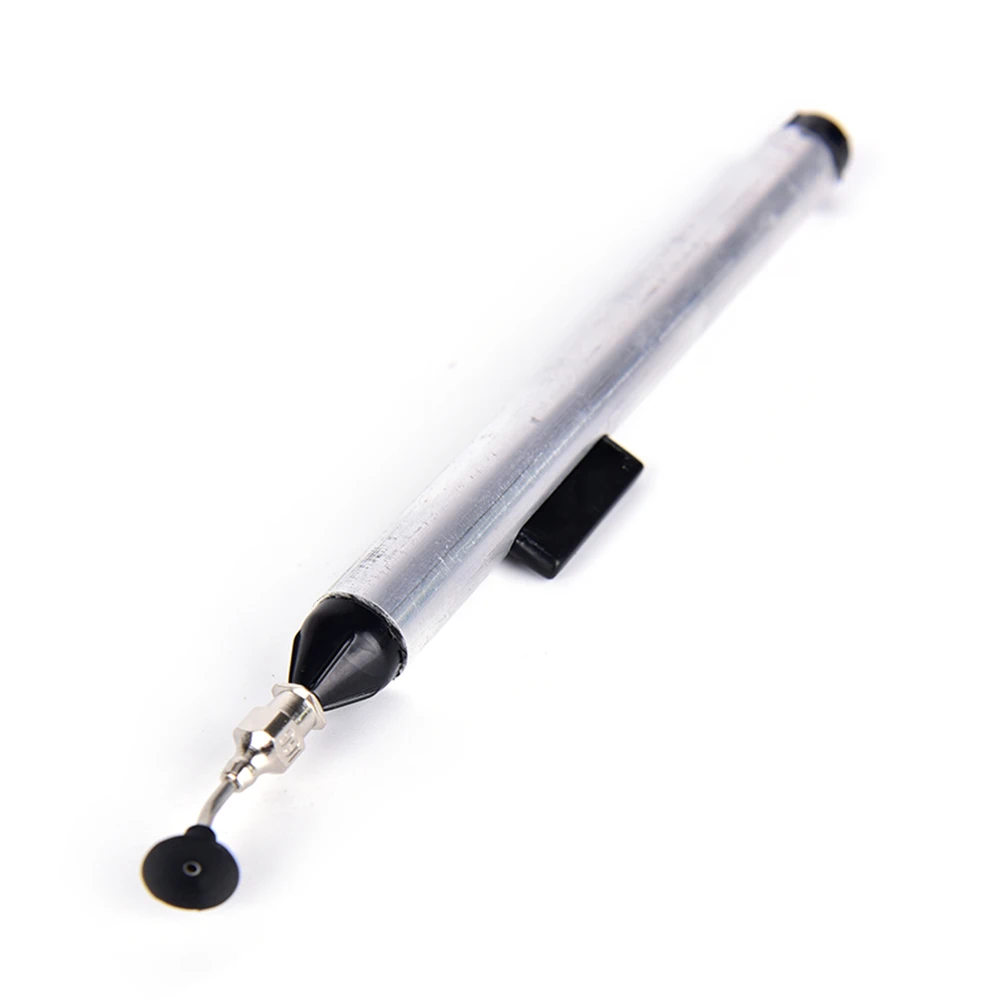
Насос-пинцет для подбора SMD компонентов New Vacuum Suction Pen.

Металлический шестигранный длинный инструментальный ручка-ручка Многофункциональный шариковый ручка Масляный отвертка Шкала Пинги.
87.74
Характеристики
80W Electric Soldering Iron Adjustable Temperature LCD Digital Display 220V Welding Solder Tips Repair Rework Tool Kit | Канцтовары для
Описание товара

Feature:
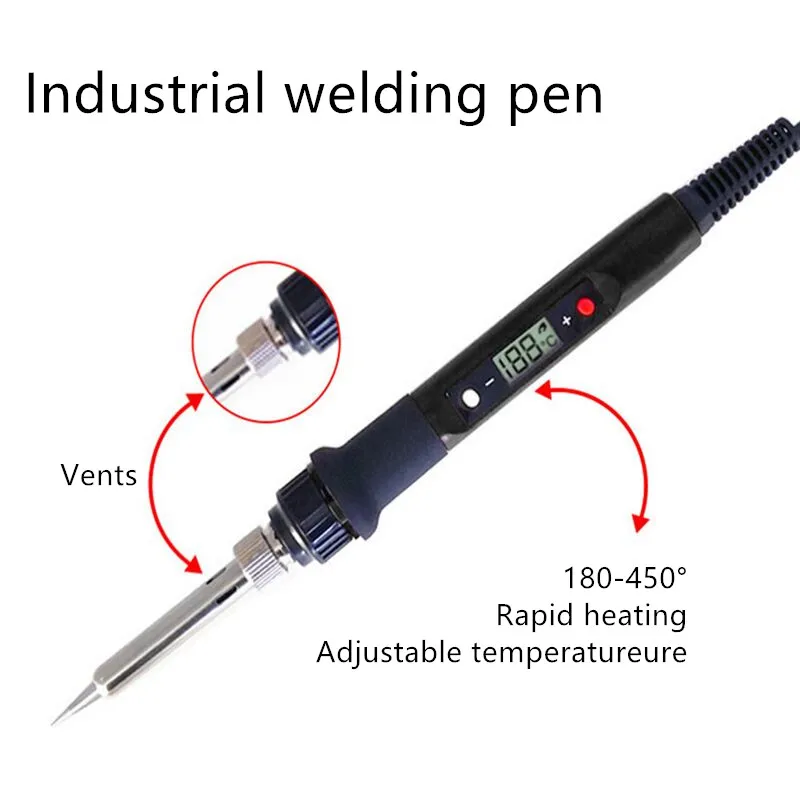
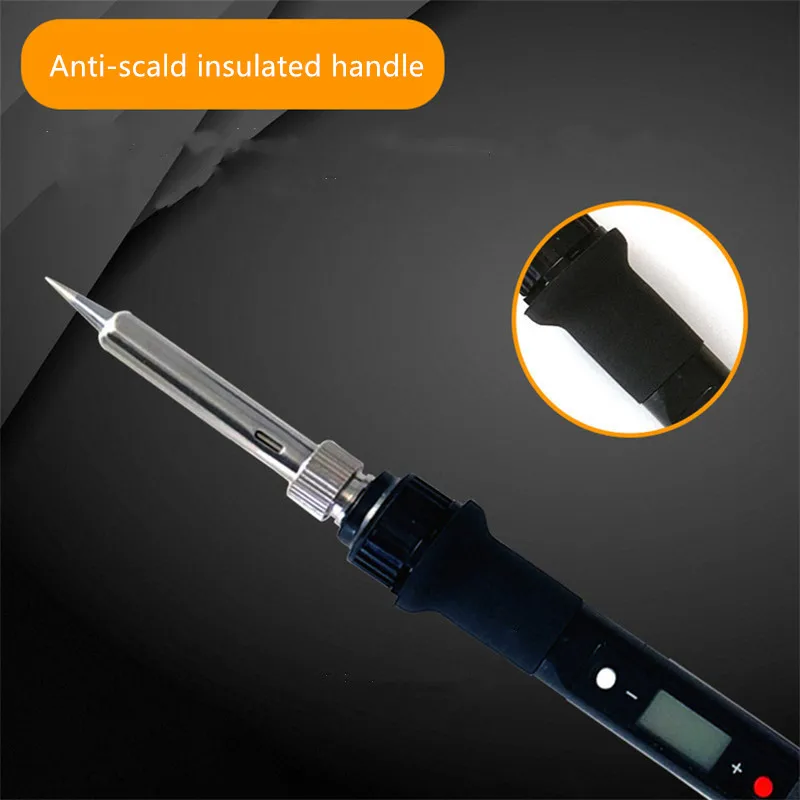
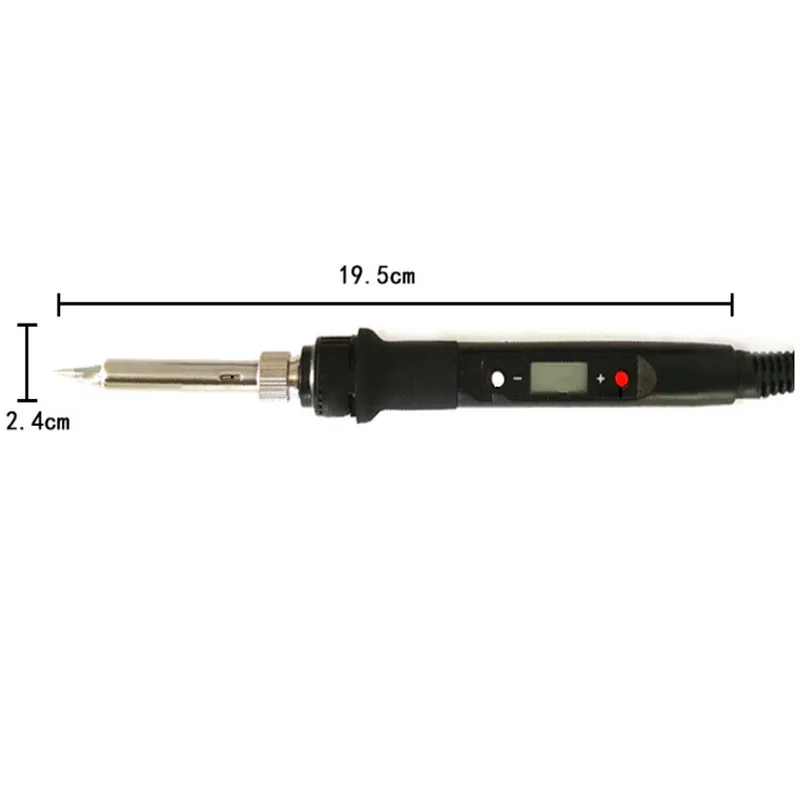
Rapid temperature rise, short tin melting time, ceramic heating core, quality assurance, LED display, temperature adjustable anti-scalding handle, long life.
Specification:
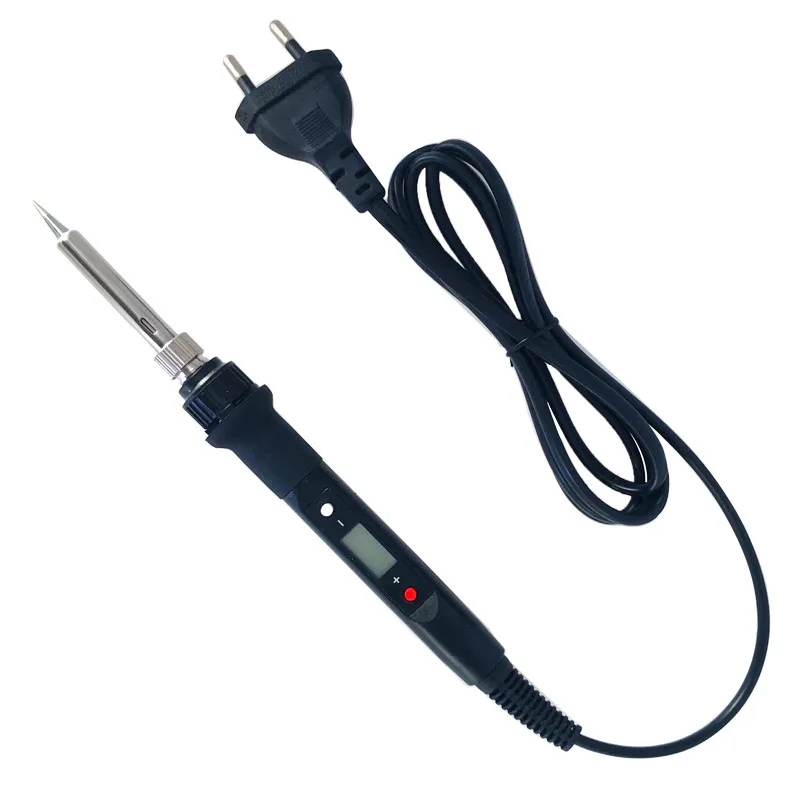
Product name: Industrial welding pen
Working voltage: AC240-200V
Working frequency: 50-60Hz
Heating core parameters: resistance 1400±15%
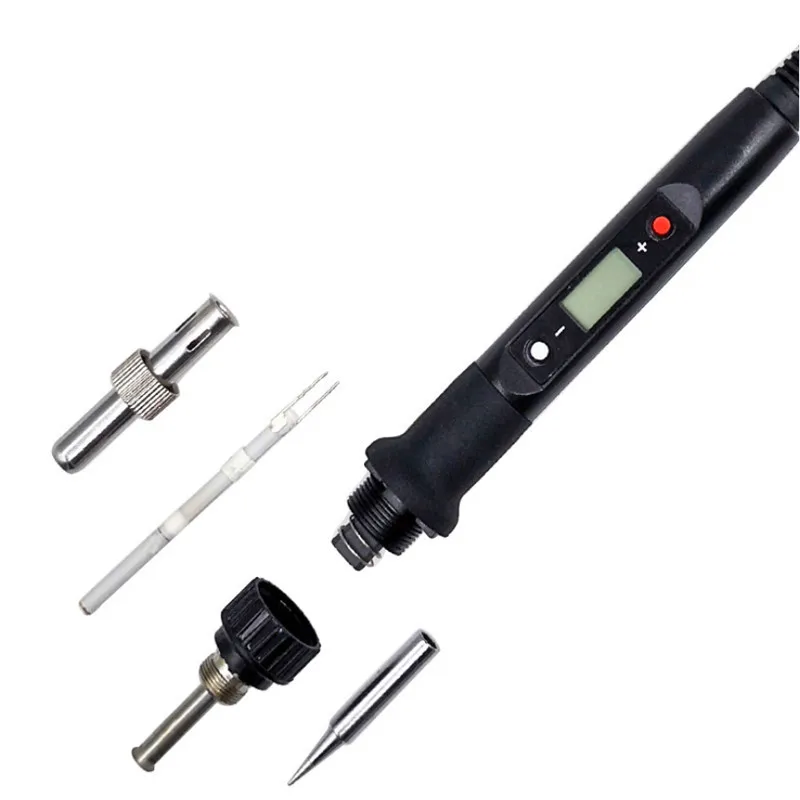
Size: about 3.8x60mm
Output power: 80W
It refers to the maximum instantaneous power of 120W and the average power of 80W at startup. The heat transfer power is related to the power of the heating core and the size and material of the soldering iron head and the thermal resistance from the heating core to the soldering iron head. The output power of this soldering iron head is the same as the ordinary 936 soldering station. The 80W heating core power can only be reflected in the increase in heating rate.
Temperature range: 480℃-180℃, 8960℉-356℉
Tin time after power on: 18-20 seconds
The test environment is at room temperature of 24 degrees, the heating head is B head, and the working voltage is AC 220V. The environment, the type of heating head and other factors will have an impact of 1-30 seconds, for example, the time for changing the flame iron head to the tip of the tin will be about Becomes 45 seconds.
Temperature setting step: Degrees Celsius: 1℃, Fahrenheit 2℉.
Anti-static function: The use of national standard triangle safety plug, effective leakage, anti-static protection, to ensure that you work safely with electricity.
Temperature calibration range: Degrees Celsius: ±100℃, Fahrenheit: ±100℉
Grid iron specifications: compatible with 936 soldering iron, using 900M series heating head.
Heating core: printed ceramic heating core is 3 times the service life of ordinary heating core.
Product List::
1X Industrial grade welding pen
Instructions:
Set temperature operation: when you press the red "+" key, the temperature increases by 1 degree, and when you long press the "+" key, the temperature increases continuously. When you press the white "-" key, the temperature decreases by 1 degree, and when you long press the "-" key, the temperature decreases continuously. When the button is not pressed for 3 seconds, the newly set temperature stability will be remembered, and the temperature will be maintained at the next boot. When the "℉" or "℃" symbol flashes, it means that the temperature of the heating core has not reached the set temperature. When the heating core reaches the set temperature for about 30-50 seconds, the temperature of the soldering iron tip can reach the set value.
Temperature calibration operation:
1. Put the tip of the soldering iron on the thermometer after being energized for 90 seconds, and add solder (appropriate amount) to the tip of the soldering iron to make the thermocouple of the thermometer fully contact with the tip of the soldering iron.
2. After the thermometer shows that the temperature is stable (about 2-4 seconds), write down the temperature of the thermometer.
3. Remove the soldering iron from the thermometer and press "1" and "+" at the same time to enter the temperature calibration interface.
4. Enter the adjustment amount. (See example)
5. Press "1" and "+" at the same time to exit the temperature calibration interface.
For example, when the setting temperature is 290℃ and the actual measurement is 282℃, the calibration procedure is as follows
1. Press "1" and "4" at the same time to enter the temperature calibration interface.
2. Press "+" key until the LCD displays 08℃.
3. Press "1" and "+" at the same time to exit the temperature calibration interface. (Temperature calibration completed)
For example, when the setting temperature is 290℃ and the actual measurement is 300℃, the calibration procedure is as follows
1. Press "1" and "+" at the same time to enter the temperature calibration interface.
2. Press “One” key until LCD displays -10℃.
3. Press "1" and "+" at the same time to exit the temperature calibration interface. (Temperature calibration completed)
When calibrating the temperature, it is best to choose 320 degrees, which can ensure good linearity in the entire temperature control range.


Трекер стоимости
Отзывы покупателей
Новые отзывы о товарах

Наталья 20 Декабря 2021, 18:23 #
Решила своему мужу на день Святого Николая сделать хороший подарок и подарить трусы из хлопка. Мне понравилась эта модель трусов,... Читать отзыв полностью...

Тамара 23 Декабря 2021, 11:56 #
Чудесный пресс. Изготовлен из аллюминия, есть антипригарное покрытие, в использовании приспособление очень простое тоже. Для приготовления котлет я использую пищевую... Читать отзыв полностью...

Анна 19 Декабря 2021, 02:03 #
Хочу сказать, что эта модель ноутбука мне сразу понравилась, благодаря хорошим высоким техническим характеристикам. Тем более доставили его... Читать отзыв полностью...
Анна 19 Декабря 2021, 16:18 #
Эти очки в смотрятся стильно и привлекательно, отлично подчеркивая мой имидж. Выполнены в стиле ретро. Учитывая мою любовь к таким... Читать отзыв полностью...

Павел 18 Декабря 2021, 09:52 #
Скоро зимние праздники наступят и я нахожусь в поисках подарков моей жене... Думаю, что эта сумочка моей жене должна понравиться.... Читать отзыв полностью...

Мария 23 Декабря 2021, 19:12 #
Классный детский боди. Сделан из качественного материала. Ткань плотная. Качественная строчка и ровная, нет торчащих ниток. Носим больше полугода,... Читать отзыв полностью...

Понравилась рубашка и решил заказать. Пришла доставка за четыре месяца после оплаты товара, конечно, долго. По качеству нормальная вещь, а... Читать отзыв полностью...